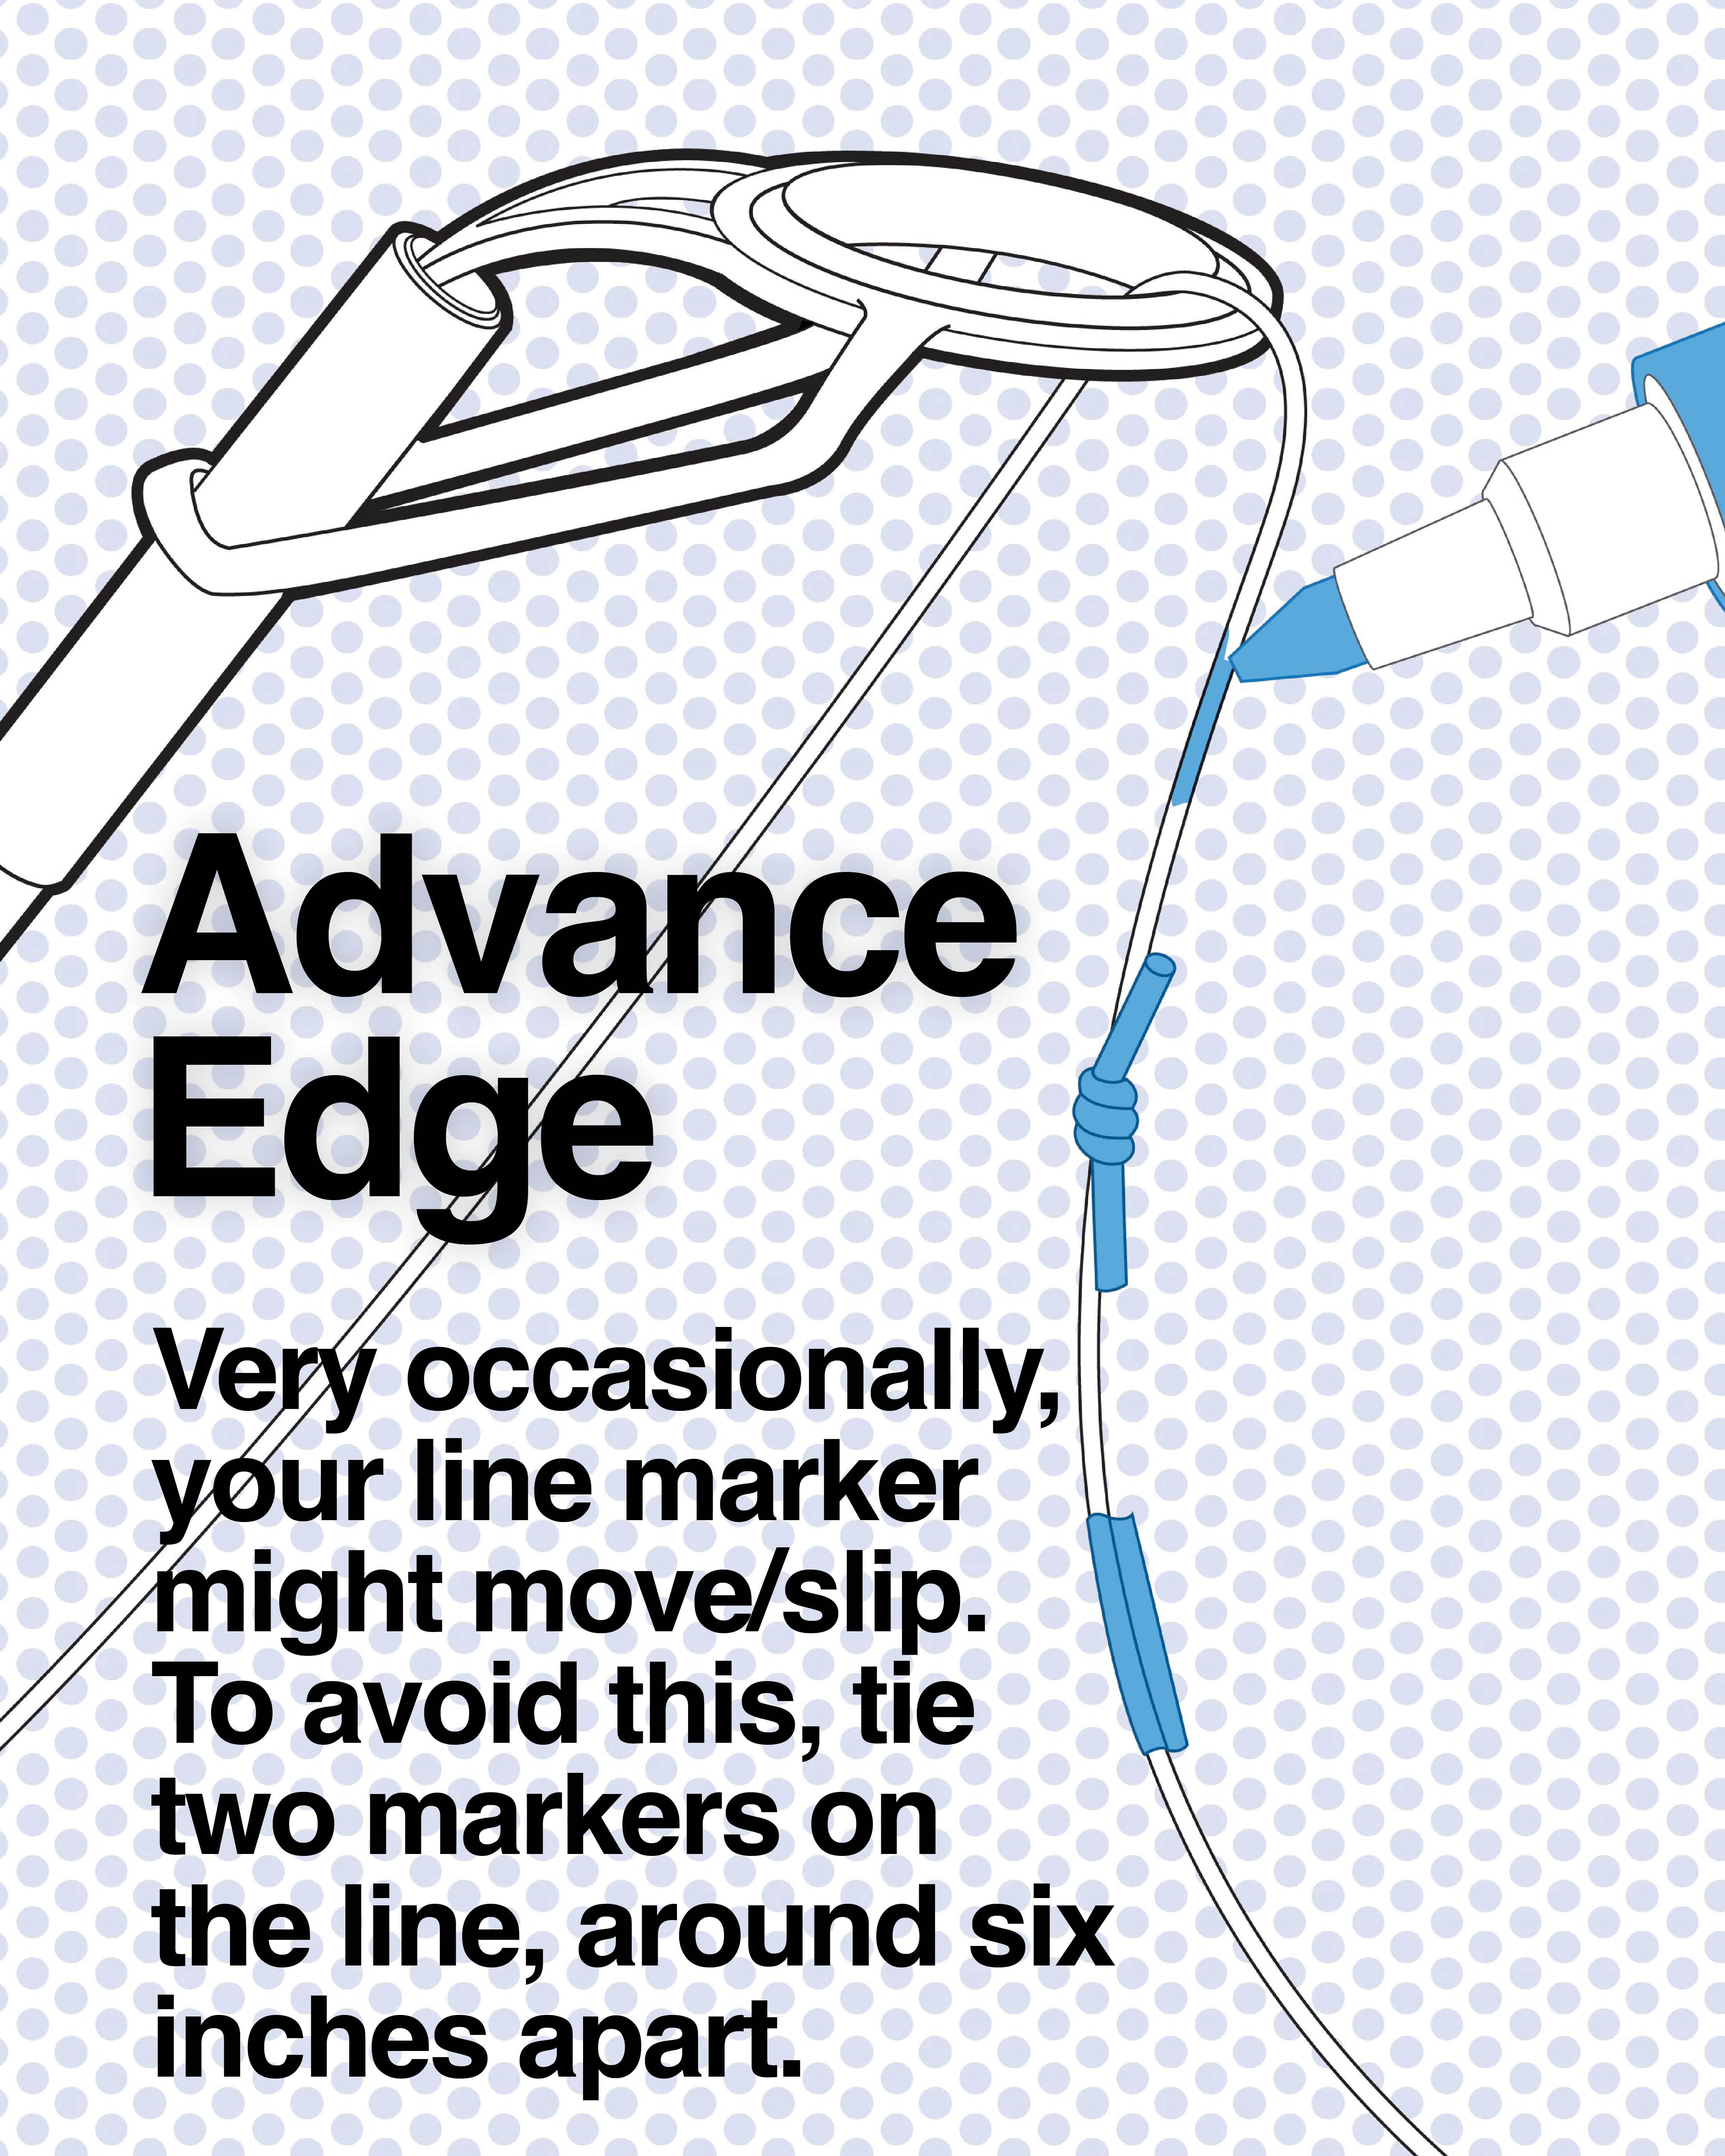
How To Tie A Line Marker
Distance sticks are a game-changer, but still, marking your line can save you a lot of time
Yes, yes, we know: marking your line with pole elastic or marker braid is deemed “old-school” by ’20s standards. What the internet did to magazines, distance sticks have done to line marking. However, for speed—once you’ve ‘wrapped up’—it’s often easier to mark the line (ideally with two pieces, but more on that in a moment). That way, when you need to recast (because of a bite or just a rechuck), you can cast out—away from your baited area with just a bare lead—reel back to the marker, clip the line under the reel’s line clip, reel in, attach the rig, and then cast out again. This saves you the hassle of wrapping around your distance sticks 25 times (or however far you’re fishing). One important thing to note: make sure the marker sits in the same position on the rod when you clip up as it did when you tied it. For example, if it was just below the butt eye when you wrapped up, ensure it’s back in that exact spot when you clip up.
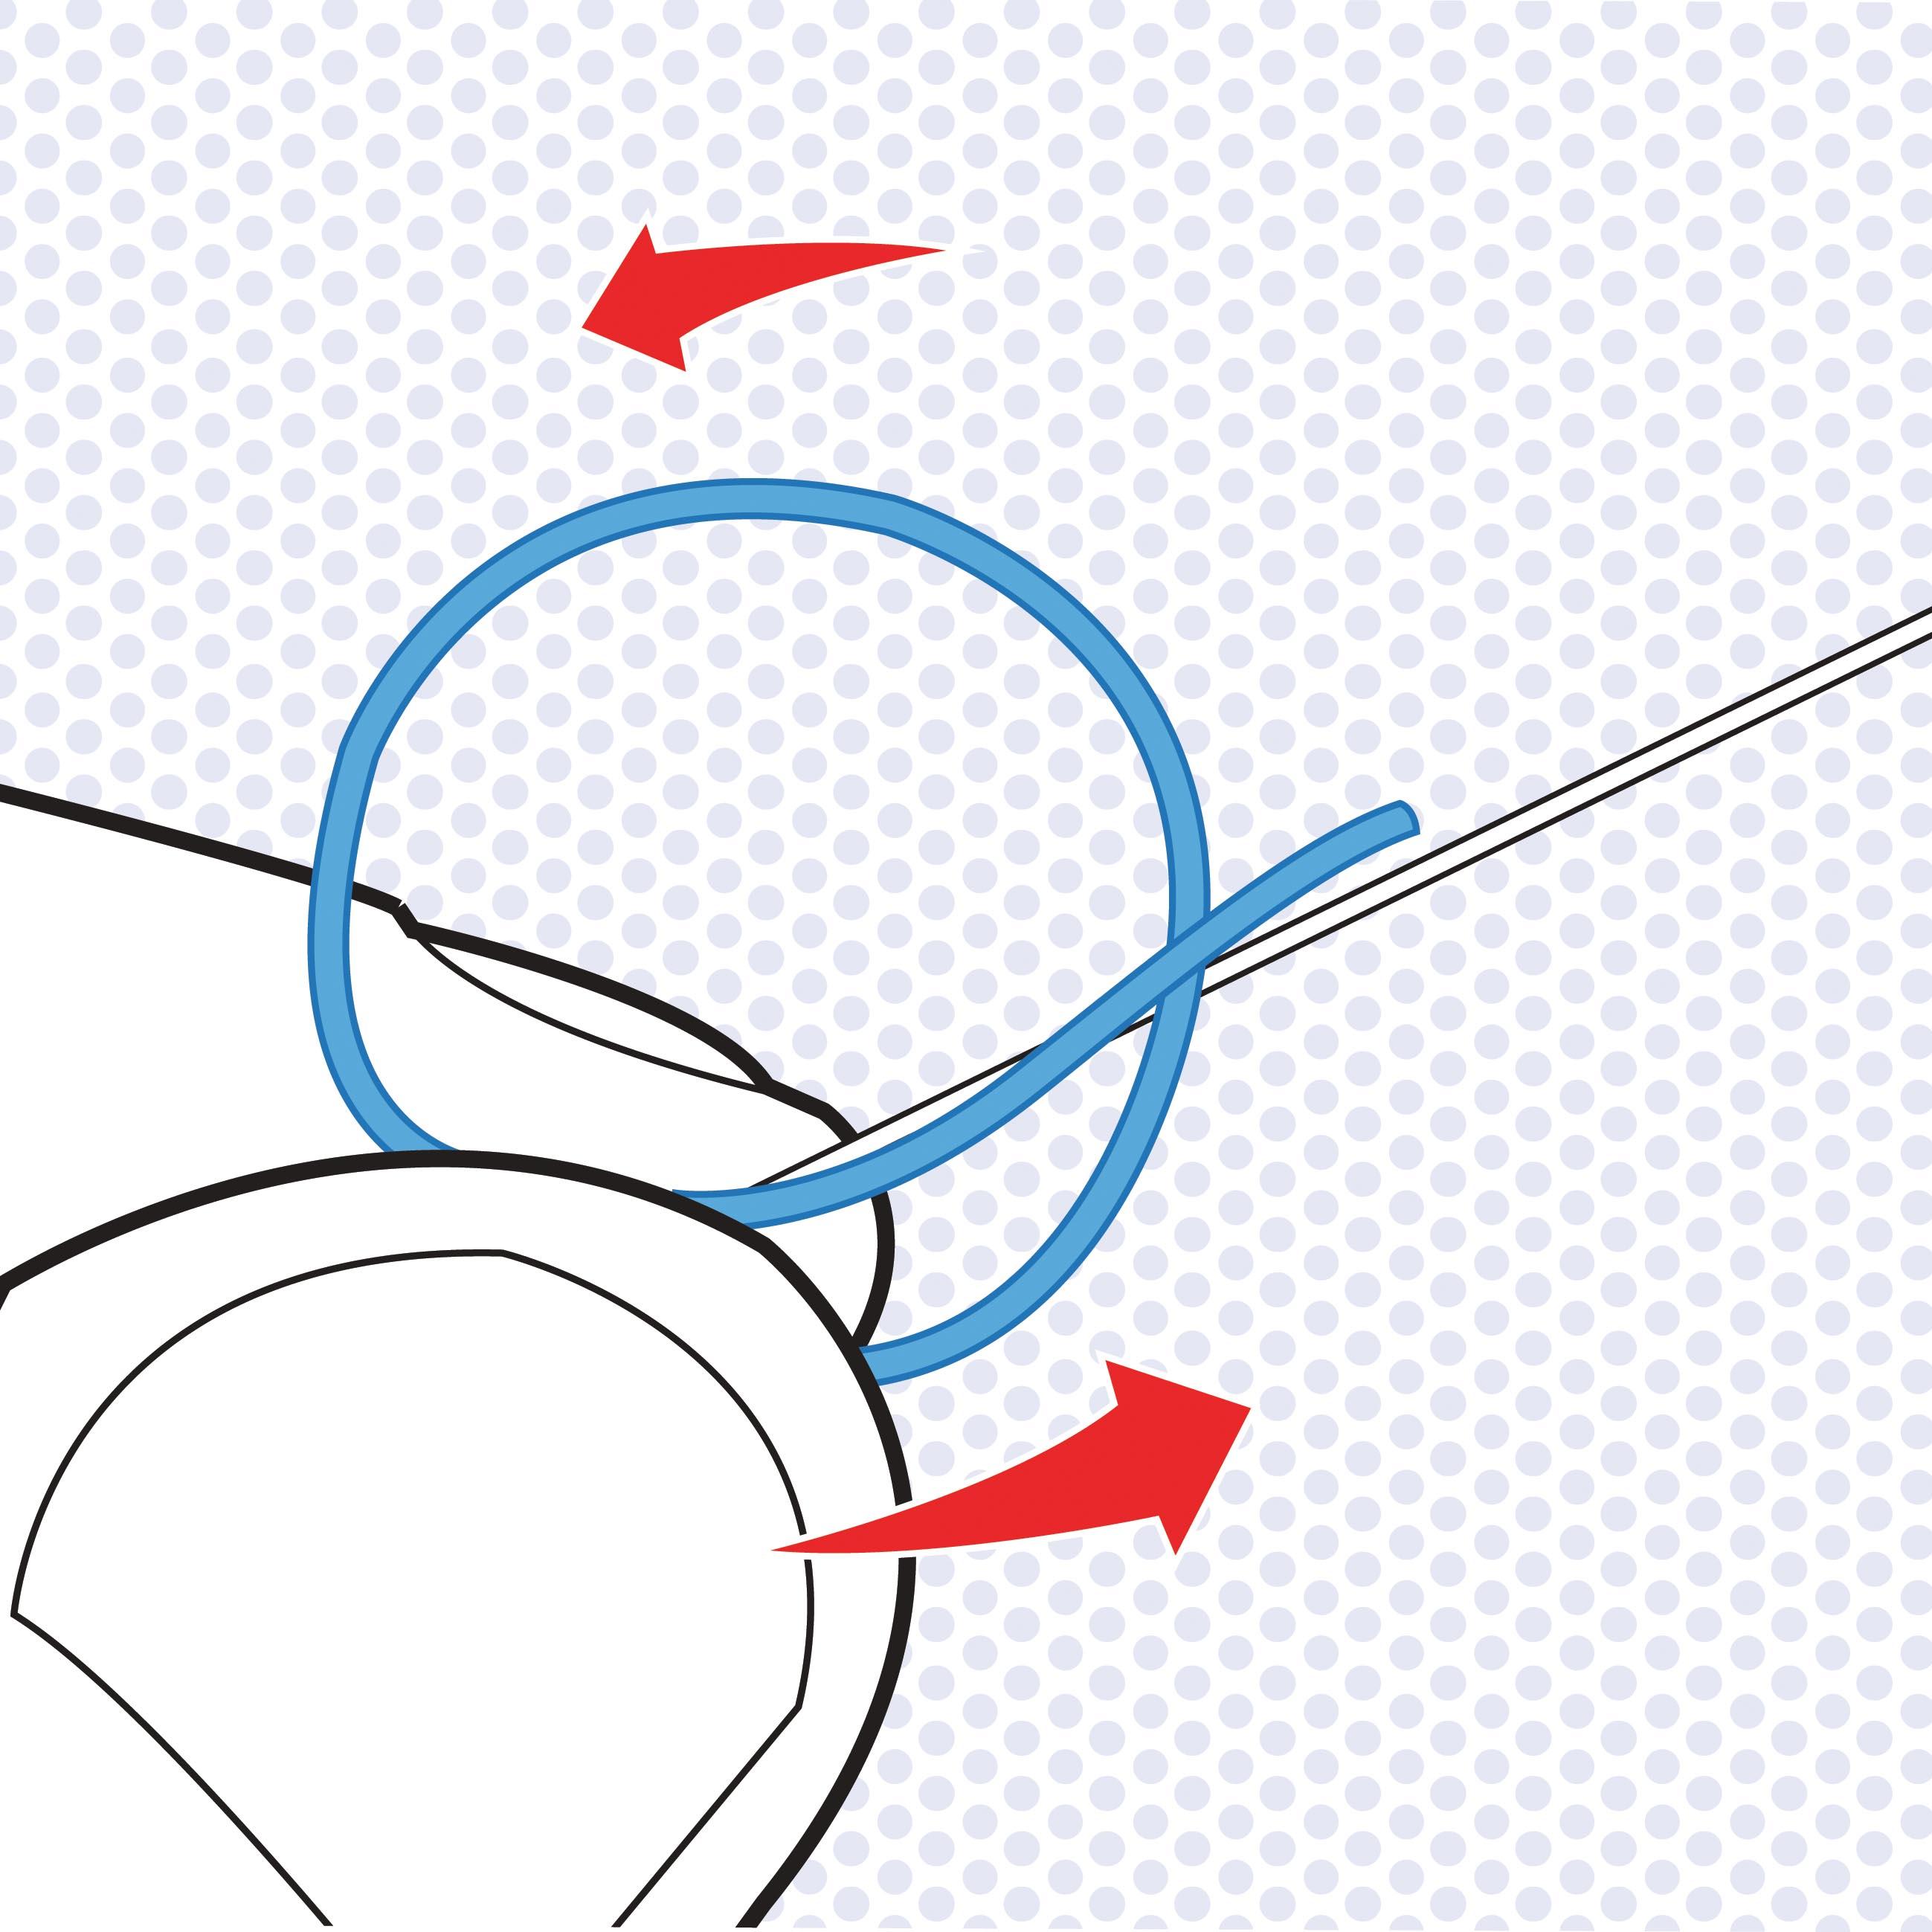
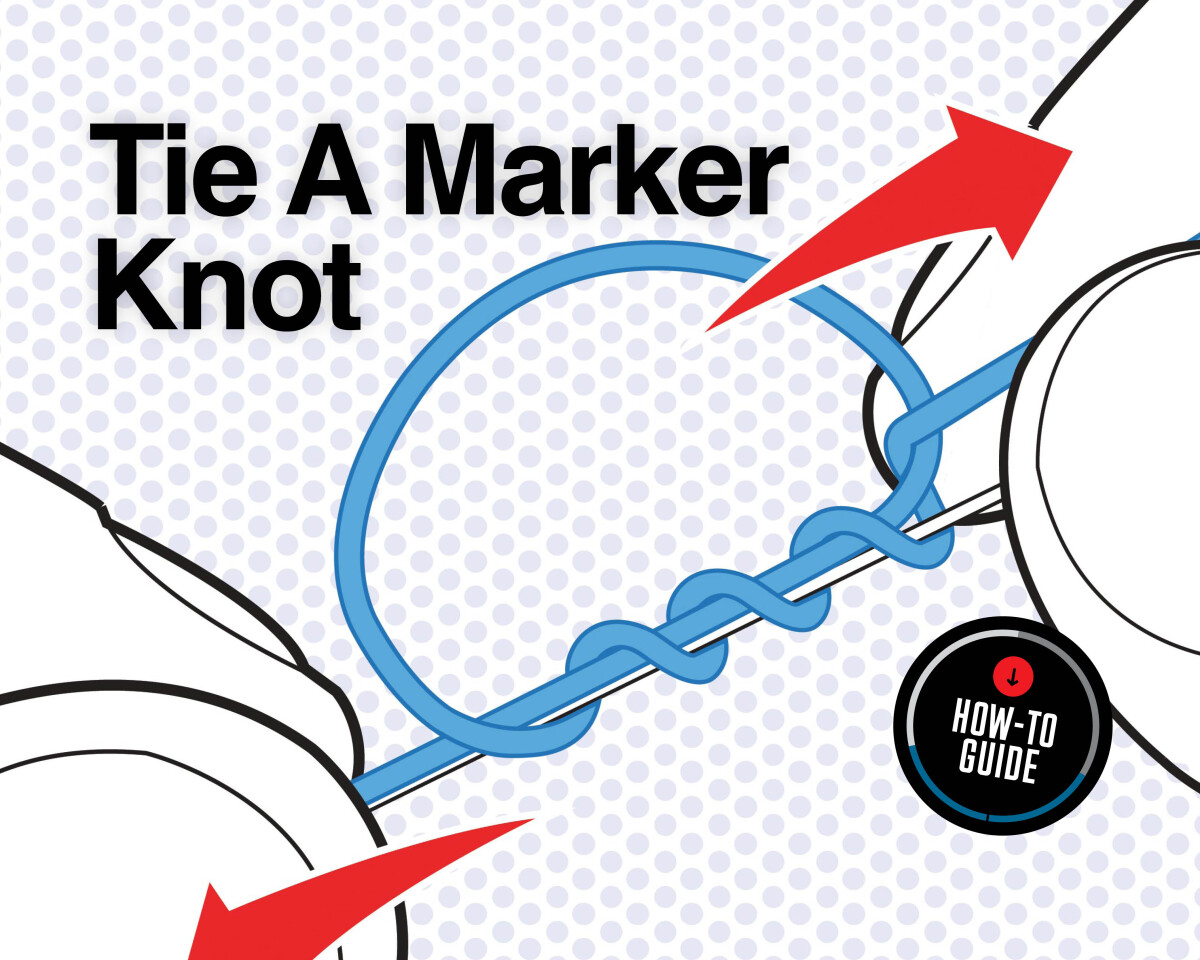
1. MAKE A LOOP
Take around five inches of your material (either marker braid or pole elastic, such as Fox’s Magic Marker) and form a loop against the main line.
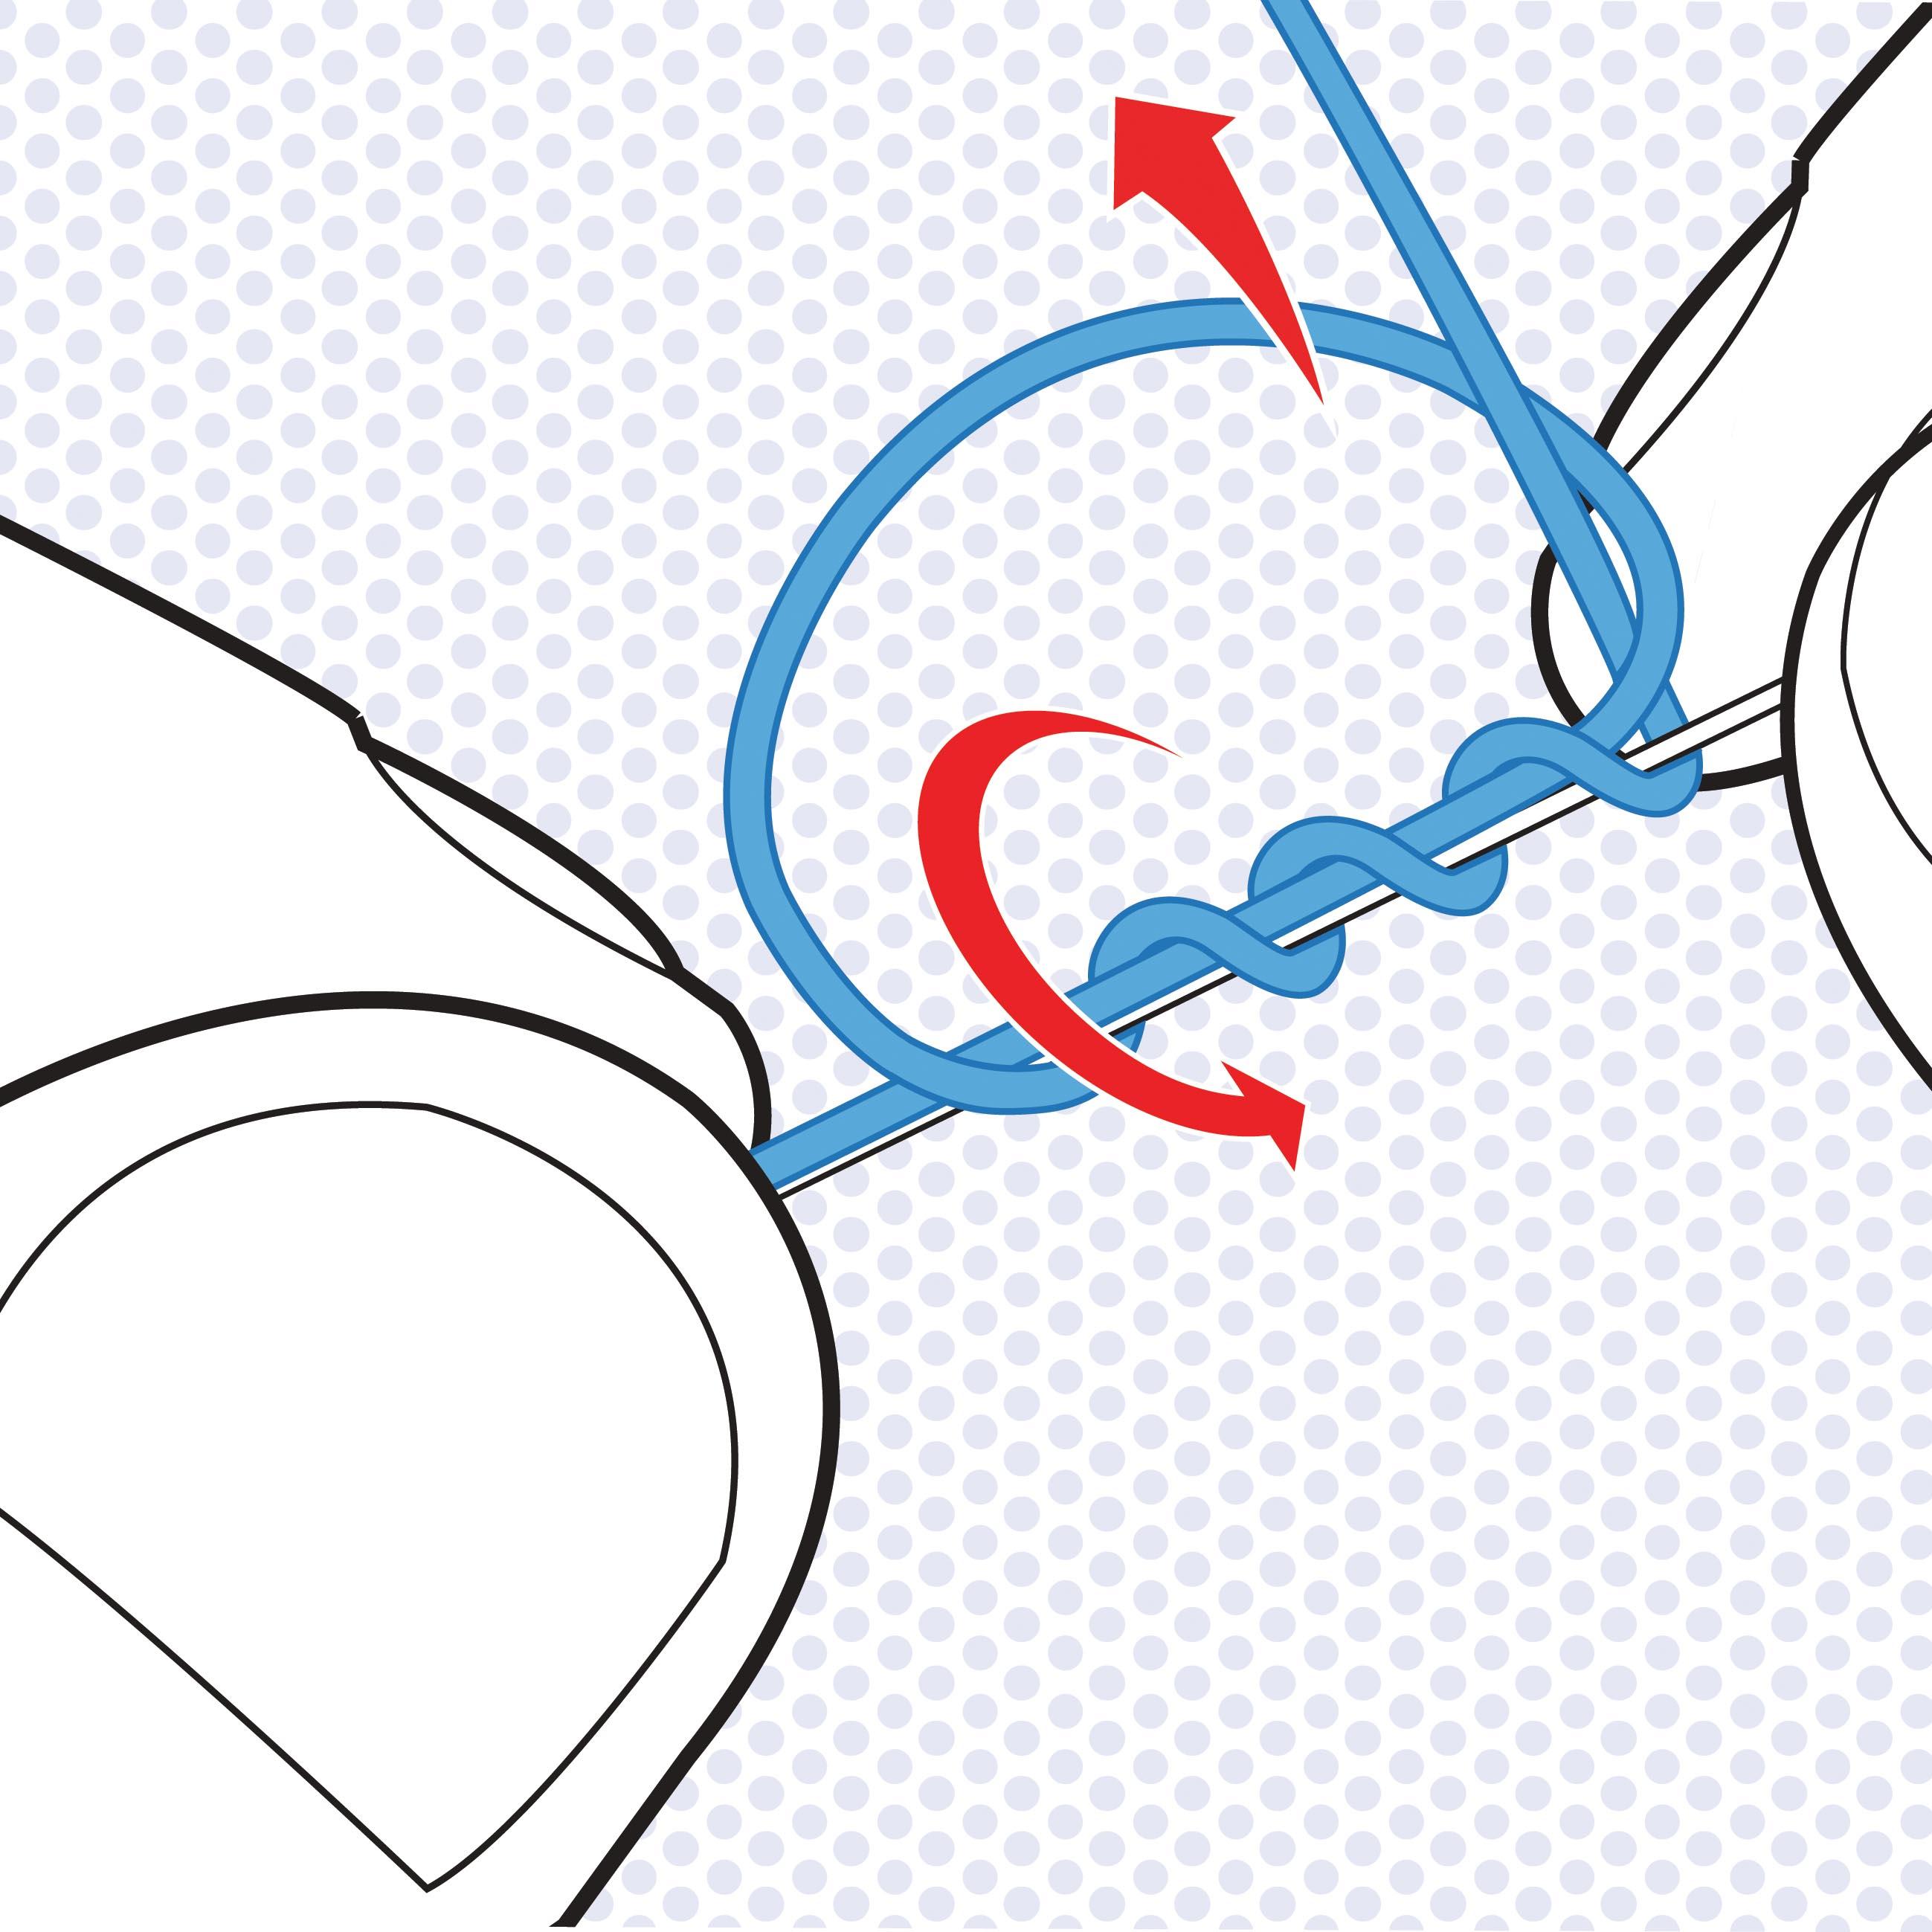
2. FOUR TURNS
Take the tag end and pass it through the large loop you’ve created four times. You can go five, but four is less bulky—and it won’t move unless you want it to.
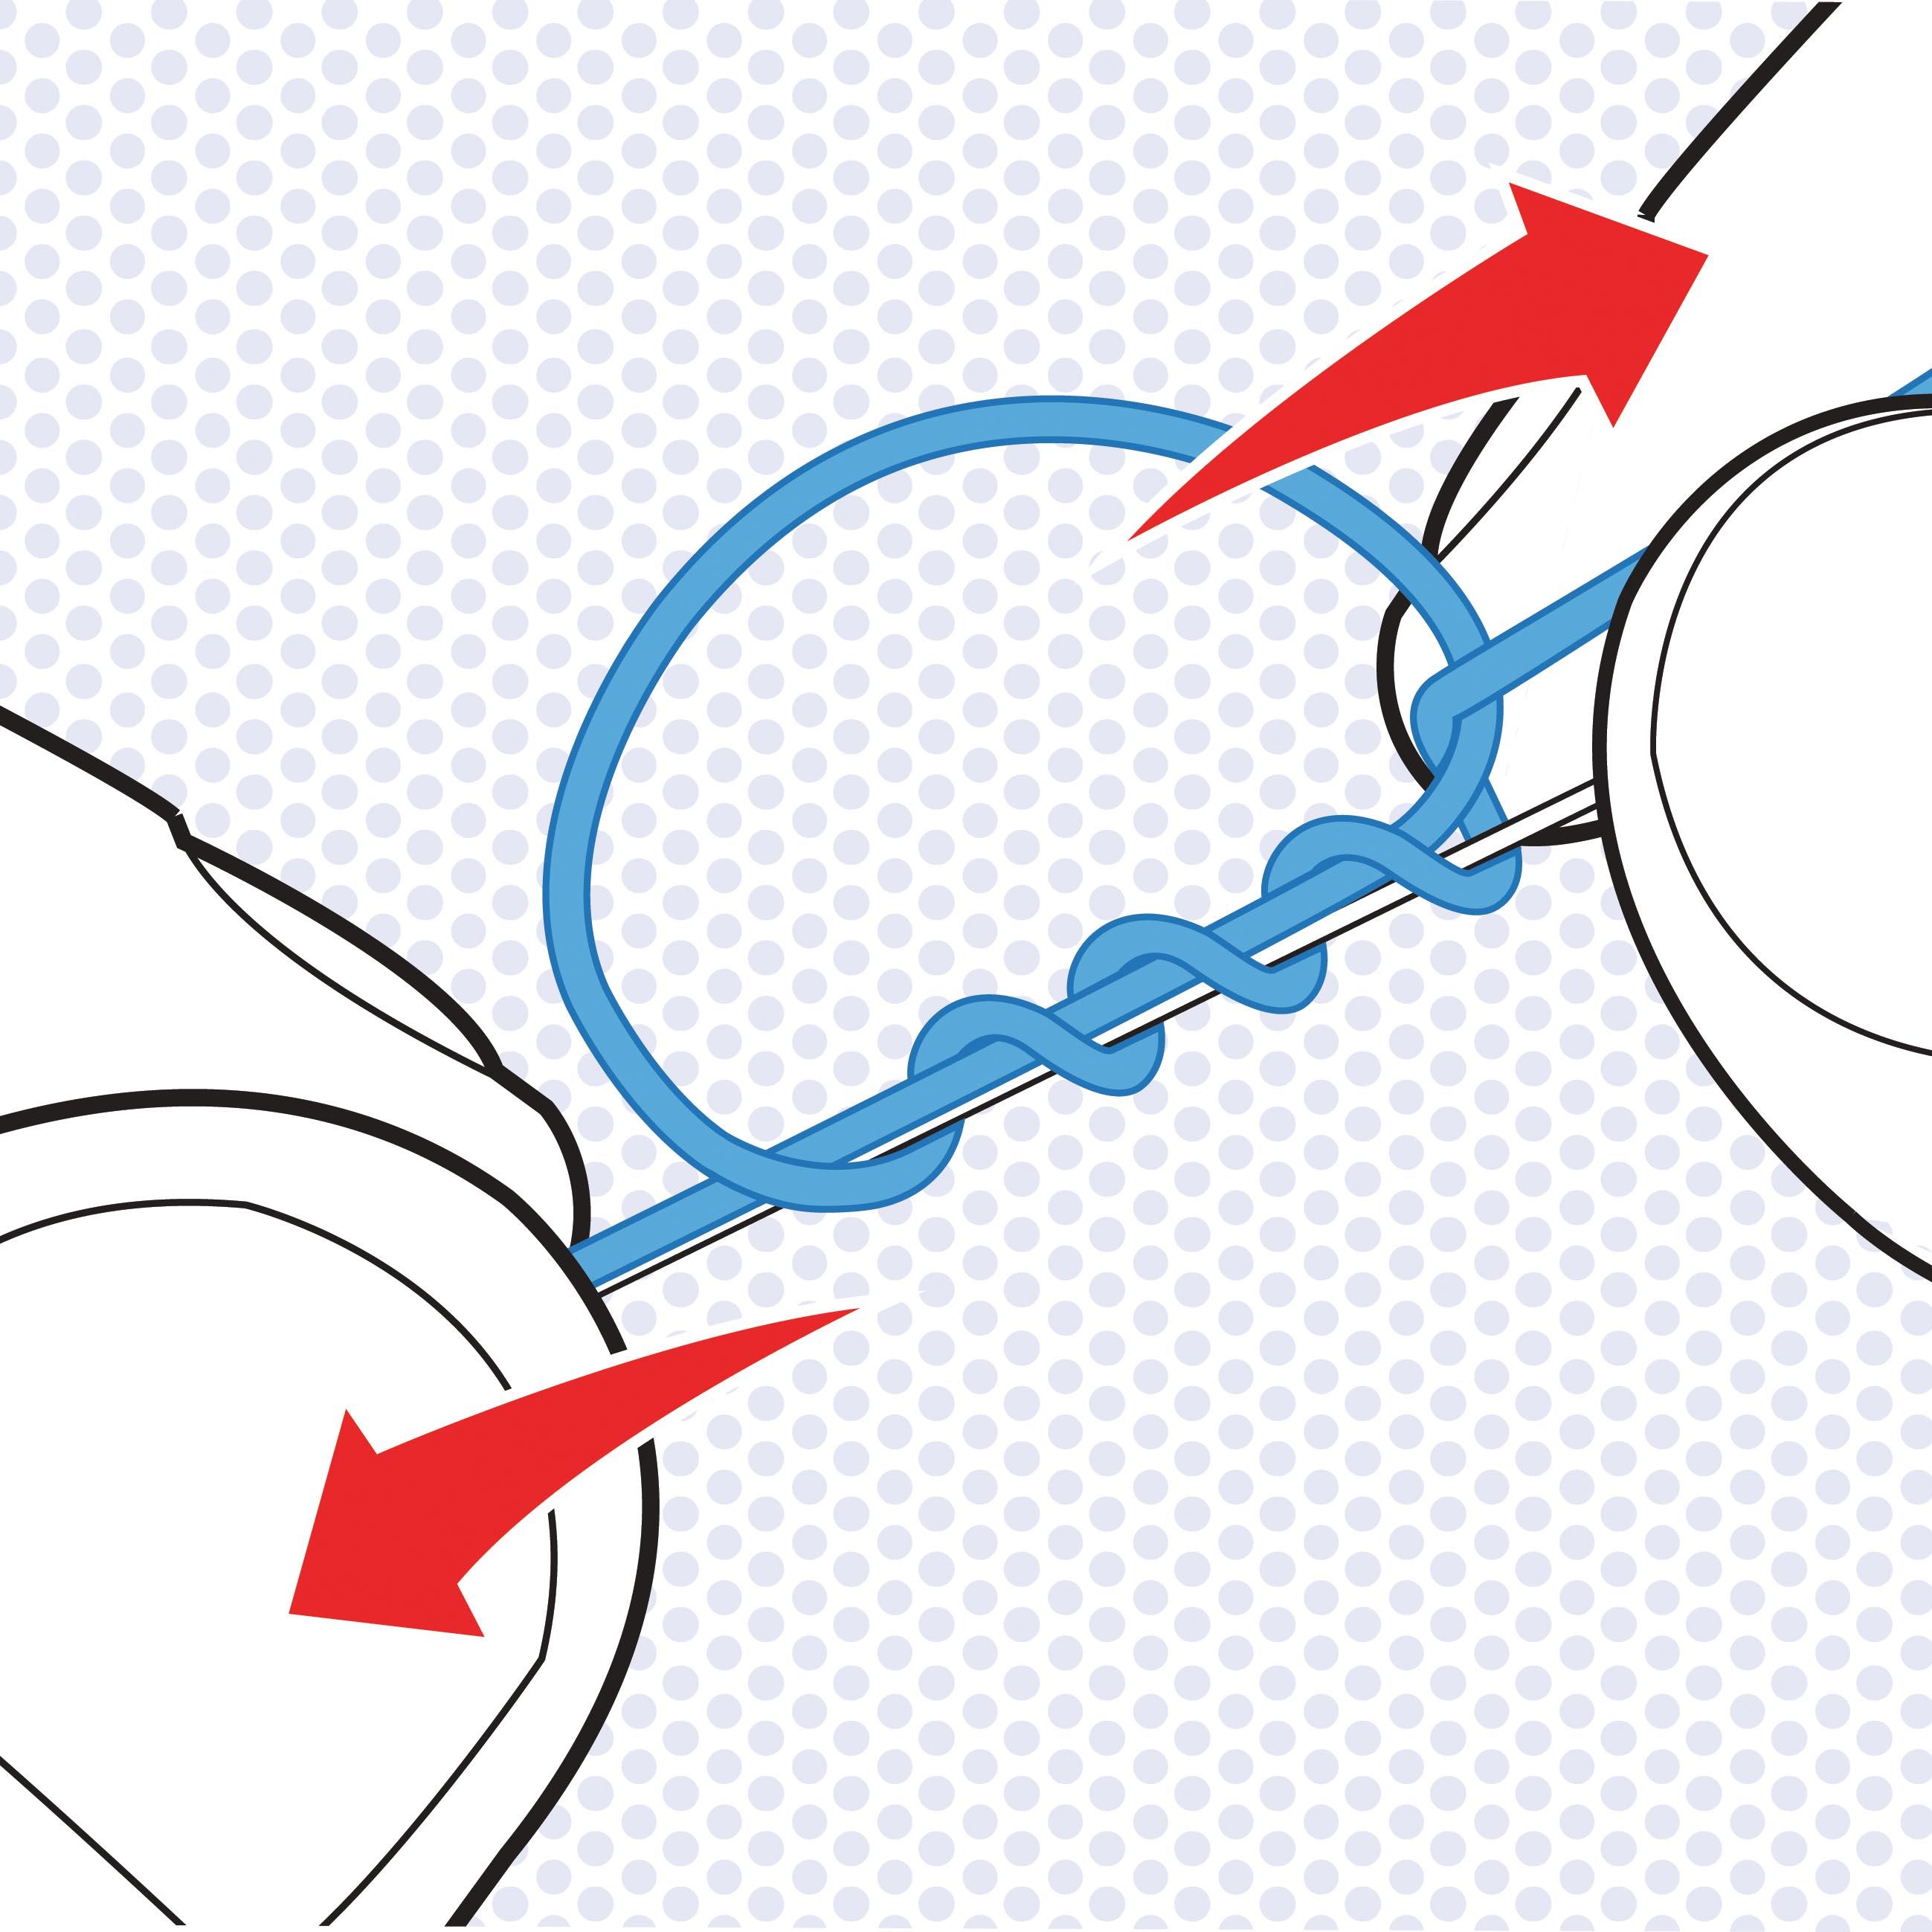
3. PULL THE ENDS
After passing the tag end through four times, pull both ends of the material to close the knot. As with all knots, it’s best to thoroughly wet it first.
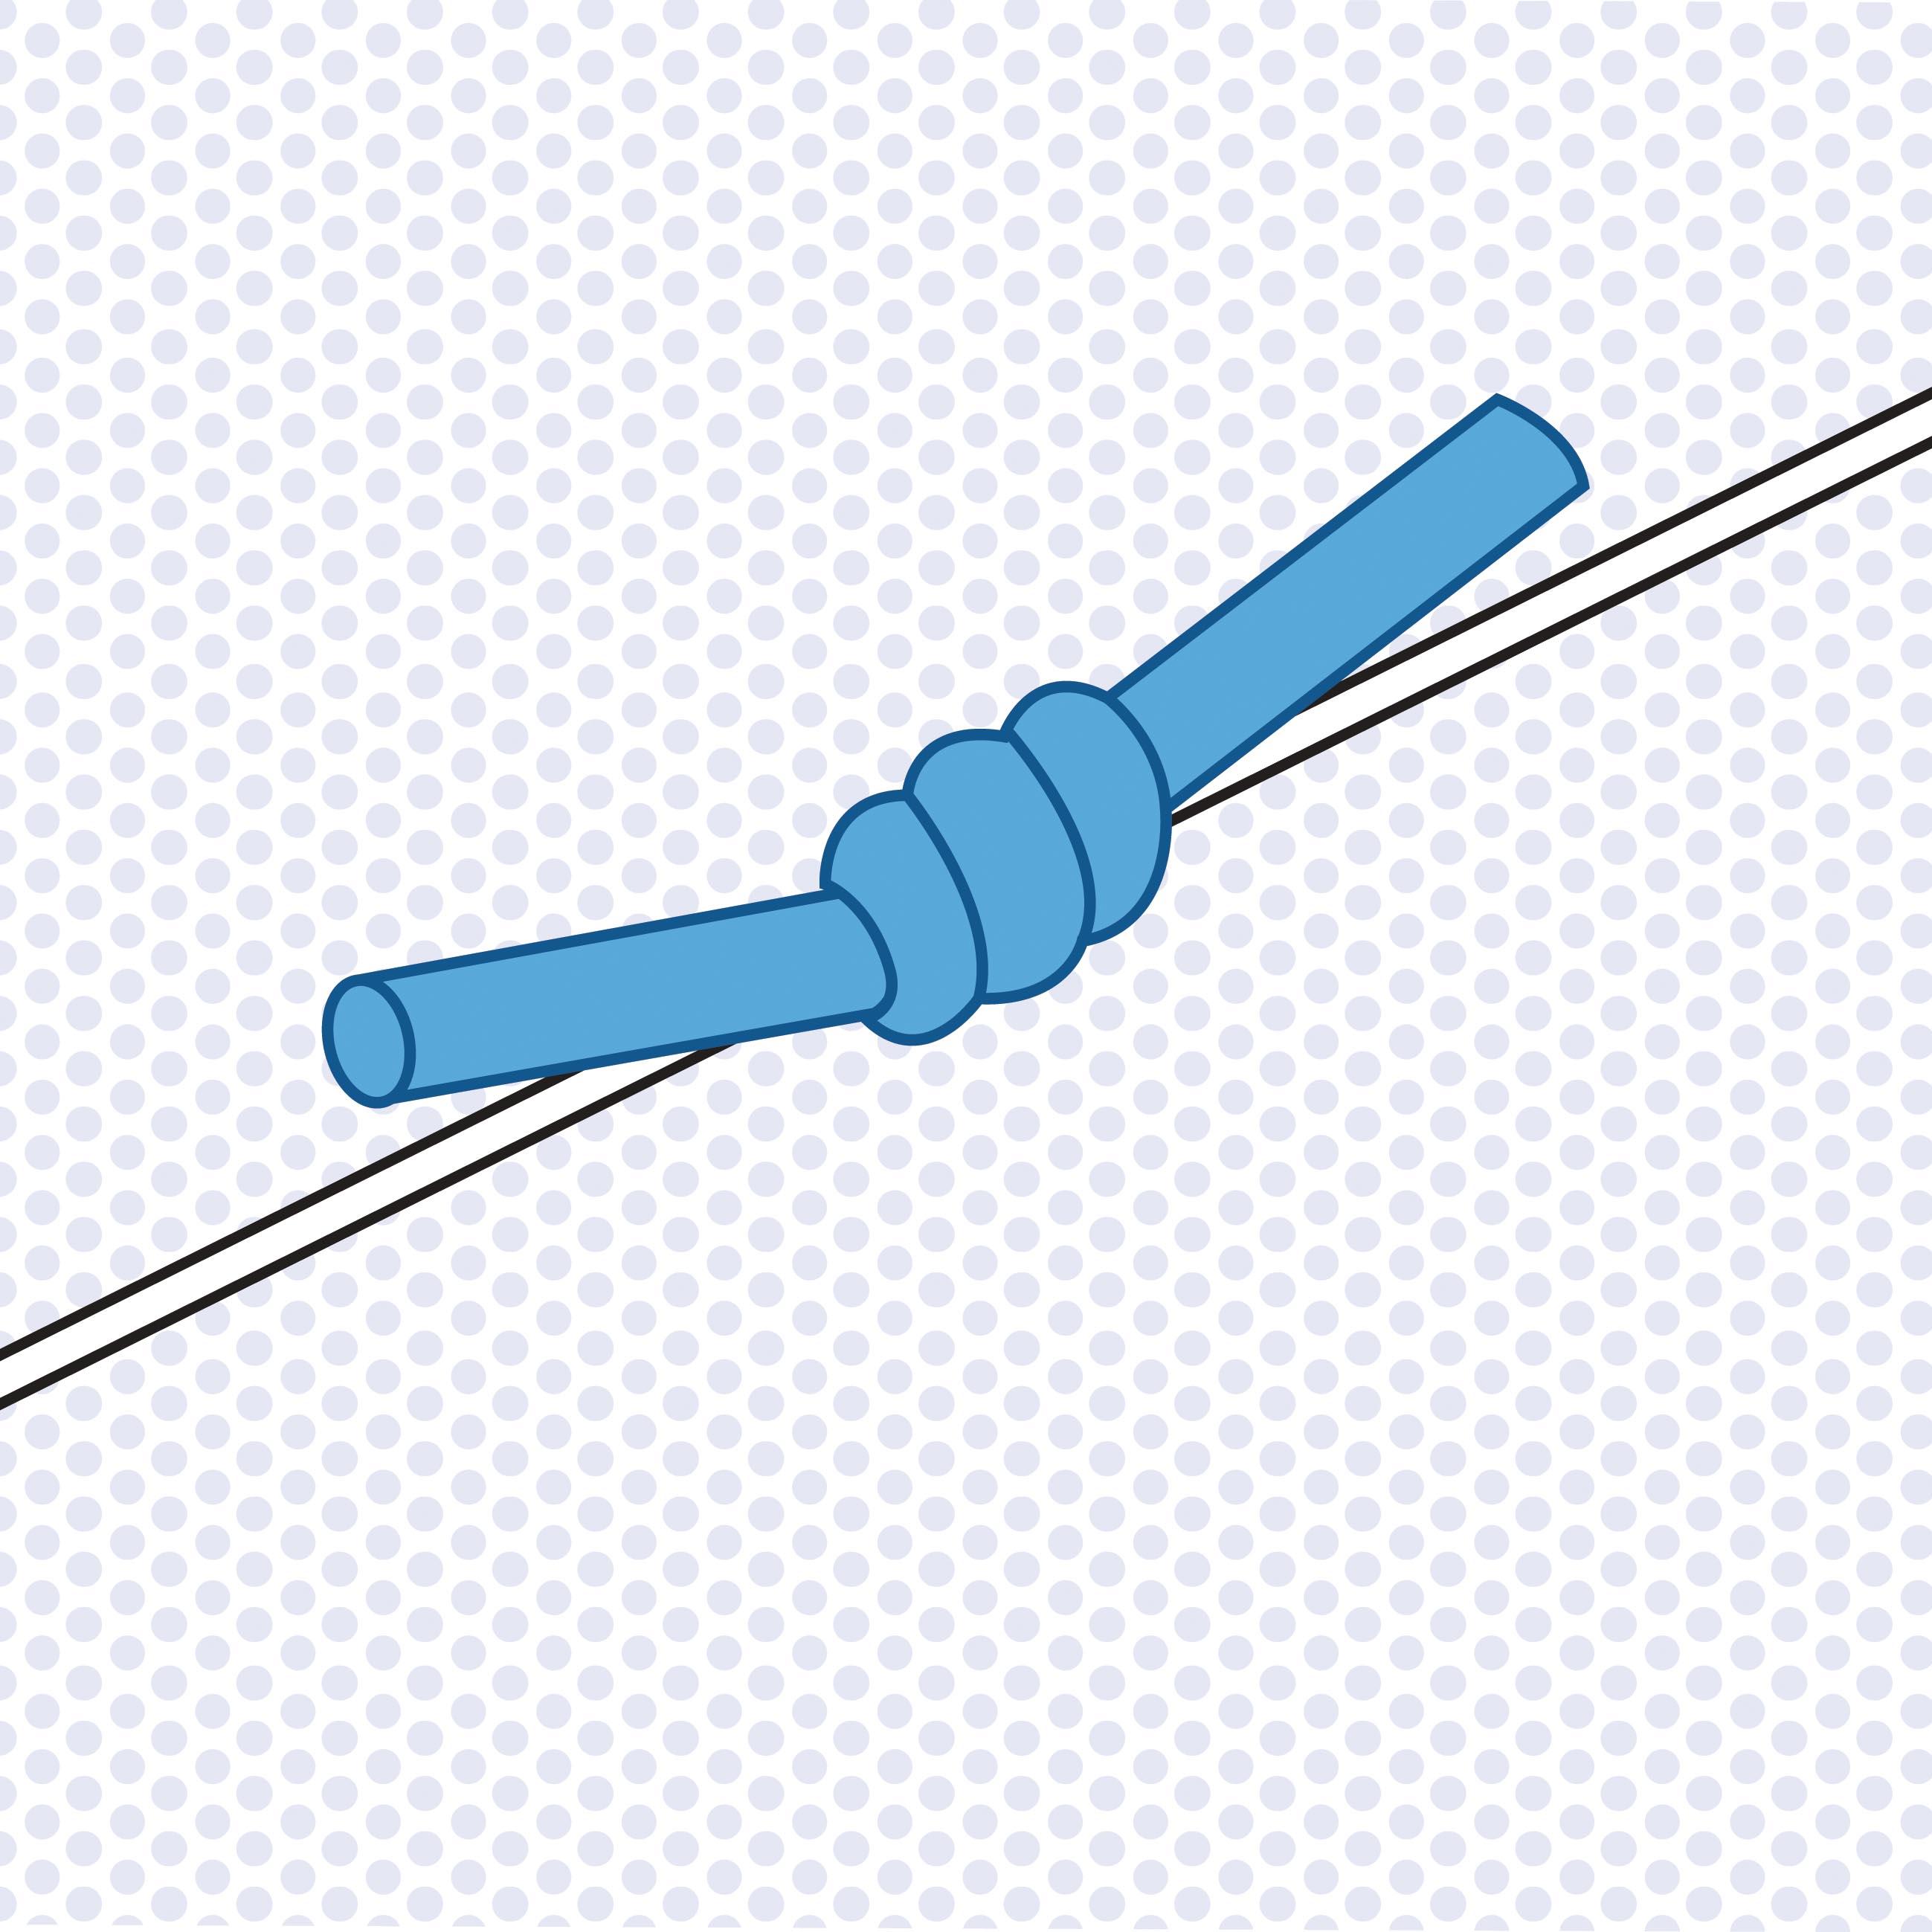
4. TRIM TO FINISH
With the knot pulled tight, take a pair of scissors and trim the two tag ends. You’ll want to leave about a centimetre on each side of the knot.